Standalone FrankenPHP Installation: A Step-by-Step Guide
This will be a small document about how to install the FrankenPHP server in standalone mode, a very good server for websites created in PHP, such as projects in Laravel, Symfony, and WordPress

Installing the server
FrankenPHP has 2 ways to be installed: one is the Docker installation, and the other is the standalone installation.
To install it in standalone mode, we will need curl; install it as you prefer. Generally, Linux is used as the server for PHP sites, so the command to install curl is the following:
sudo apt-get install curl
Once curl is installed, you will be able to use the curl command found on the FrankenPHP page.
curl https://frankenphp.dev/install.sh | sh
This will download FrankenPHP to the folder where you are. After that, move FrankenPHP to the folder /usr/local/bin/.
mv frankenphp /usr/local/bin/
This will allow you to use frankenphp as a command.
Where to place our sites(Directory)
Alright, now we should create a folder for our websites. Generally, in Linux, it is recommended to use /var/www/. So let’s go and check if the www folder exists with the ls command.
cd /var/
Run the ls or dir command after this.
ls
If the folder is not there, you can create it with mkdir. It may not let you create it directly since it is a system folder, so use sudo as well to be able to create it.
sudo mkdir www
Alright, this will be your folder for the web projects you have with FrankenPHP.
For example, if we want to create a website called, I don’t know, “mghogar.com,” we could create its folder here, resulting in the full path /var/www/mghogar.com/ <- project folder.
If we wanted to run this project, we should navigate to the mghogar.com folder and run the following command in the console:
sudo frankenphp php-server
How do I configure my site?
Okay, everything is looking good so far, our server is running and all, but it’s running as long as the console is open. How can I run the server without disabling the console?
These are two questions you should have asked yourself. The thing is, frankenphp php-server is a command to test our server, not to keep the server running.
To keep our server running, we should use frankenphp run. If we run frankenphp php-serve, it will not look for any Caddyfile, it won’t load any configuration, and it will only serve the page where we are currently located.
FrankenPHP doesn’t have or I couldn’t find official documentation, but it does have the -h or --help flag. Let’s see what we can do with frankenphp run.
frankenphp run -h
Flags:

  -a, --adapter string    Name of config adapter to apply

  -c, --config string     Configuration file

      --envfile strings   Environment file(s) to load

  -e, --environ           Print environment

  -h, --help              help for run

      --pidfile string    Path of file to which to write process ID

      --pingback string   Echo confirmation bytes to this address on success

  -r, --resume            Use saved config, if any (and prefer over --config file)

  -w, --watch             Watch config file for changes and reload it automatically
Okay, we can see that -c is the flag we need because we want a Caddy file for our server. You might be asking yourself: Why? Why the heck do I need a configuration file if the server works just fine with frankenphp php-serve?
Well, you need it in many circumstances. Imagine you want to have more than one page on your server.
How would you handle that?
You might also want to use it for other reasons, such as managing HTTP versions, project roots, reverse proxies, etc.
Caddyfile
This will be the file where we have our configuration. It can have two names: Caddyfile or Caddyfile without extensions.
In FrankenPHP, the Caddyfiles always start with
caddyfile
{
   # Enable FrankenPHP
   frankenphp
}
For your server, you can add
caddyfile
tuserver.com {
    root * /path/to/app/public
    php_server
}
FrankenPHP uses Caddy in the backend as a way of say, it is build on top o Caddy, but what is Caddy?
Caddy is a powerful, enterprise-ready, open-source web server with automatic HTTPS written in Go.
Obviously, the Caddyfile uses Caddy’s directives underneath, and we could use them in our configuration file.
SSL en el localhost
To use SSL on our localhost, I recommend using the tls internal directive. However, to use it, you’ll need certutil, a command-line tool primarily used for managing digital certificates.
sudo apt-get install libnss3-tools
Once you have certutil installed, it should be easy to run your server, although you’ll need to add a domain in the hosts file. In my case, I used myproject.local. Below is a sample of my Caddyfile; remember that you can also name it caddyfile.
{
     frankenphp
}
myproject.local {
     tls internal
     root * /home/ronin/www/public/
     php_server
}
With this, it should be enough for your server. In my case, I placed my page in home, but if you’re configuring a server, don’t do that. The recommended path is /var/www/tuweb.com/, and ideally, your Caddyfile should be in www.
Okay, to run our server, we would use the following command:
/var/www/sudo frankenphp run -c Caddyfile
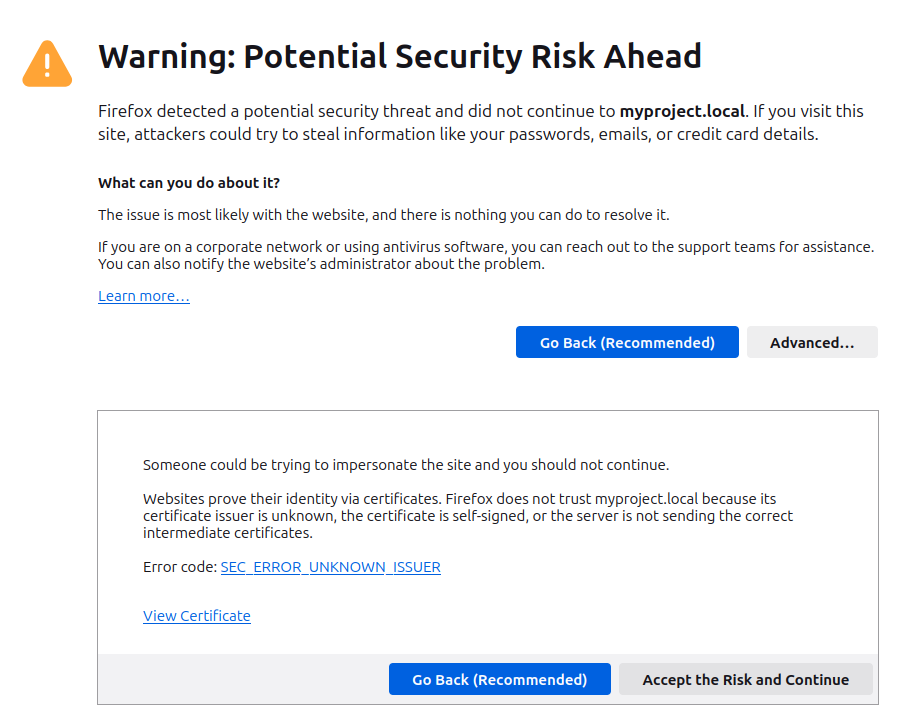
Now, when you go to your local website in the browser, you should see an insecure warning. This is because it is a certificate made by us on our PC, and for the browser, it has no validity.

Click “Advanced” and tell it that you trust the page, after all, you are creating it, so how can you not trust it.
I do not set an image, but http3 works correcty
Do not use self-signed certificates on production websites; we only do this in development to test that HTTP/2 or HTTP/3 work correctly with this server. Neither use the tls internal directory thats for your dev environment
One more thing: if you already have a website running and generating income, consider donating at least 5 USD to Let’s Encrypt. After all, they are certifying that your site is secure.
Running the server in the background
To run the server in the background, you can create a daemon like the following:
[Unit]
Description=FrankenPHP Server
After=network.target

[Service]
Type=simple
ExecStart=/usr/local/bin/frankenphp php-serve /path/to/your/project
WorkingDirectory=/path/to/your/project
Restart=always
#use the specific user for frankenphp,sh file and Caddyfile
User=root
Group=root
Environment="FRANKENPHP_LOG_LEVEL=info"
Environment="FRANKENPHP_HTTP_VERSION=3"
StandardOutput=syslog
StandardError=syslog

[Install]
WantedBy=multi-user.target
Using frankenphp run
To execute the command frankenphp run you need to make a bash, like start-frankenphp.sh for example:
start-frankenphp.sh#!/bin/bash/ cd /var/www/ exec sudo /usr/local/bin/frankenphp run -c Caddyfilemake your bash file executable:
chmod +x start-frankenphp.shafter this you need to change the ExecStart line in the daemon config: you will not need /bin/bash cause we are using shebang #! and now what to run cause of it
ExecStart=/path/to/your/script/start-frankenphp.sh
Remember that daemon files in Linux go in /etc/systemd/system/. Give it a good name, for example, FknPHP.service or whatever you like. Just remember that when you use systemd, you’ll need to remember this.
sudo systemctl enable FknPHP.service
sudo systemctl daemon-reload
To run it, you will need this command:
sudo systemctl start [nombre del servicio]
And to stop it:
sudo systemctl stop [nombre del servicio]
Another method that I haven’t tested is one I asked the AI about, as I wanted to know if FrankenPHP had any command that did that without using the daemon, which is to use nohup. But what the heck is nohup? Let’s see the definition given to us by IONOS.
The Linux command
https://www.ionos.com/es-us/digitalguide/servidores/configuracion/comando-de-linux-nohup/nohupmakes your system ignore the hangup signal (HUP). This way, a process can continue running in the background. The output generated is redirected to thenohup.outfile or another file of your choice.
Let’s see what the AI recommended to us:
carpeta wwwnohup sudo frankenphp run -c Caddyfile > output.log 2>&1 &
And to stop the process, it tells us to use
carpeta wwwpkill -f "frankenphp run -c Caddyfile"
¿When to use Caddy or frankenPHP?
FrankenPHP offers greater benefits for web applications built with PHP. In fact, for Laravel or Symfony, it is more recommended to use FrankenPHP.
When to use Caddy instead of FrankenPHP:
Let’s say we have several websites made in different languages. In that scenario, we should use Caddy instead of FrankenPHP.
In my case, for example, since I do some things in Go, it would be better to use Caddy Server instead of FrankenPHP.


The following is an answer of duglas to ochorocho
php-server is a helper command that starts FrankenPHP without requiring to write a Caddyfile.
It is ok for very standard PHP apps. It doesn’t read the Caddyfile at
all.
If you need(or want) a custom Caddyfile, you must use run instead.