Debian – Graphical installation
Today we will see how to install Debian graphically. Some people prefer Debian for their servers because it is a very lightweight OS and undoubtedly the most stable Linux OS.
In the installation we will do, I will be using about 75GB, of which 1 or 2GB will be used for Swap Space and the rest for the disk. This leaves about 72GB to be divided between what the user will input and the OS (operating system).
Once installed, I have 72.4GB, with about 67.4GB free. If we do the math, the installed operating system takes up about 5GB.
If we consider that we can install the OS without a graphical system like GNOME, which is 4075MB, it gives us a significantly small amount, leaving a considerable amount of space for a server.
To perform this installation, I used VMWare. Remember that if you are installing on your server, you will need to create a bootable drive.
On the other hand, you might have rented a VPS with Debian, although these usually come pre-installed with or without a graphical interface
Installation
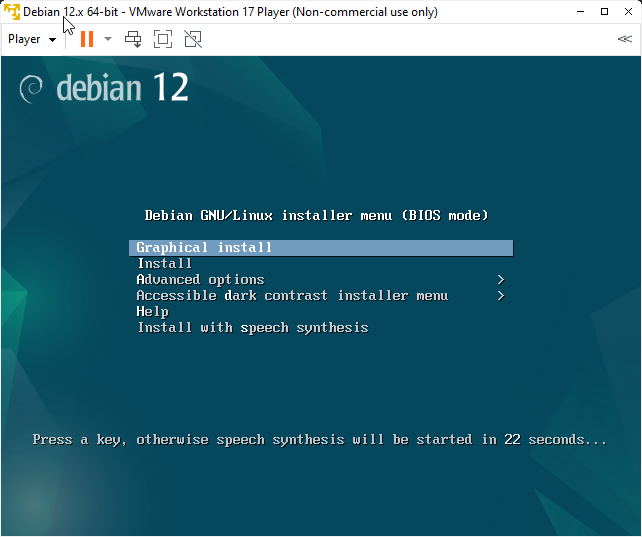
As soon as we enter the Debian installation, we have the following options, shown in the image below. From these, we will select Graphical install.
Remember that the installation we do will depend on whether it is our own machine, a VPS, or a dedicated server. This will depend a lot on your needs. Today, we will look at the graphical installation
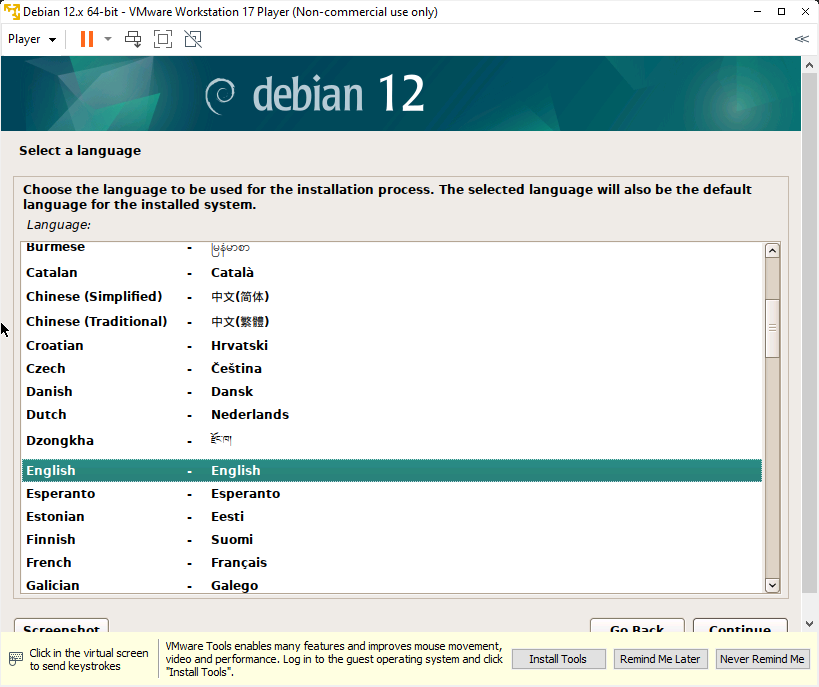
The next thing we need to do is select the language. This language will be used during the installation process.
Time Zone
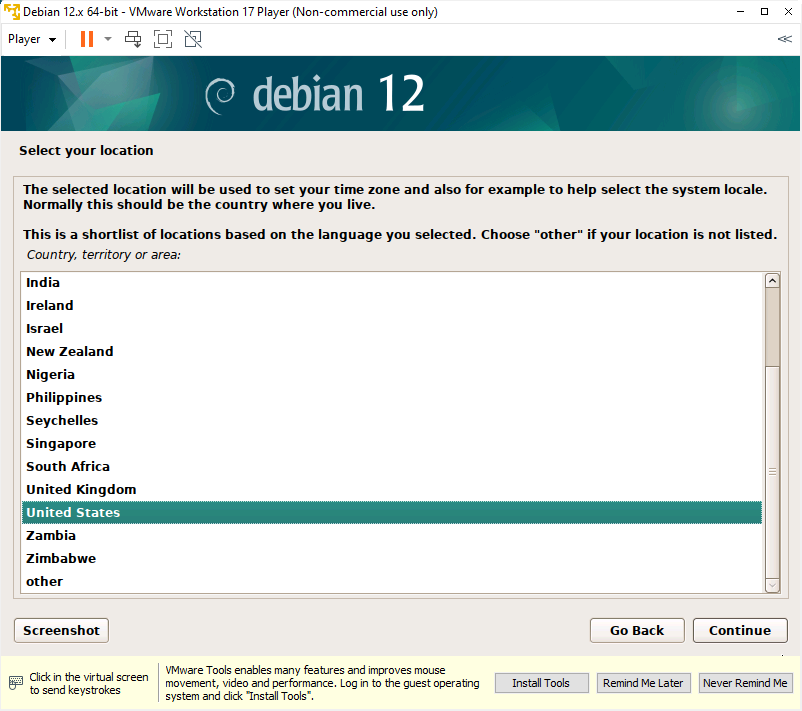
Once we click continue, it will ask for our location to set the time zone. It will request our country in this box to know which time zone to offer in the following steps.
Keyboard
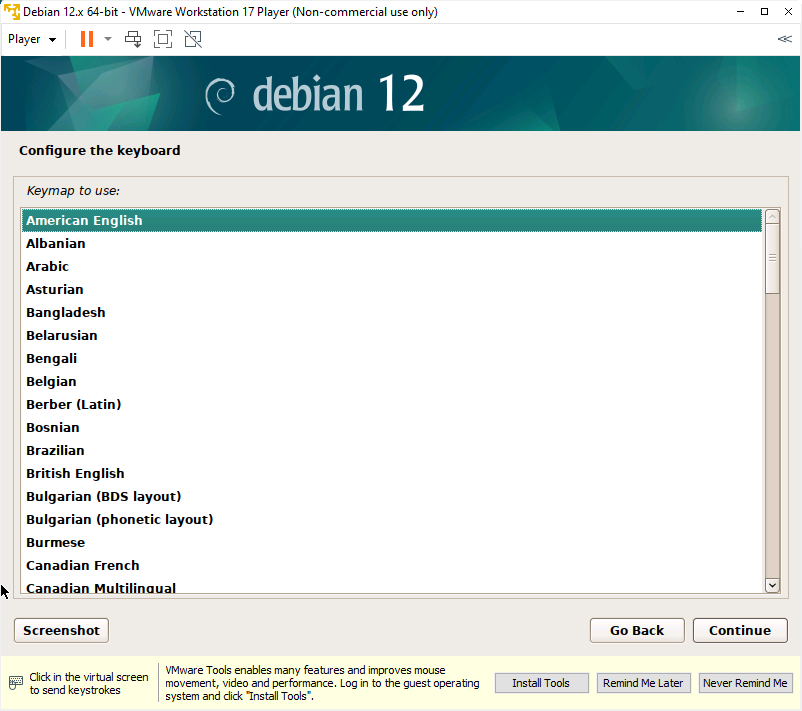
We will need to select our available keyboard. This section usually detects the keyboard based on the time zone.
These will install the keyboard and another component
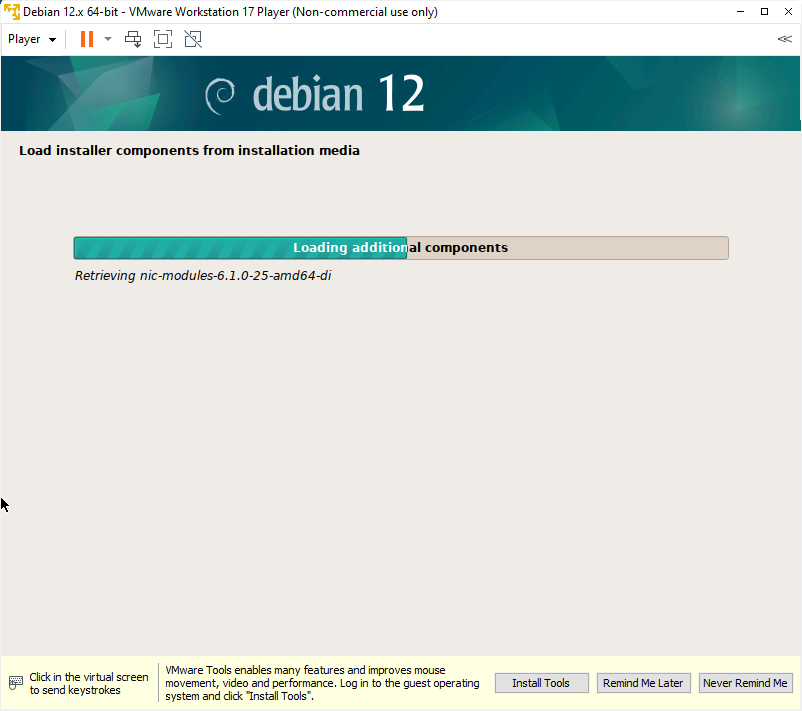
Network
At this point, it will ask for the Hostname, which is the identifier name of your PC for the network. If you rely on a network administrator, consult them for the name for this device. For example, in a fictional university named ‘Universidad Pascal,’ the PC name could be UP-Admin1 or UP-LABS1 etc, depending on the role in which the PC is being used.
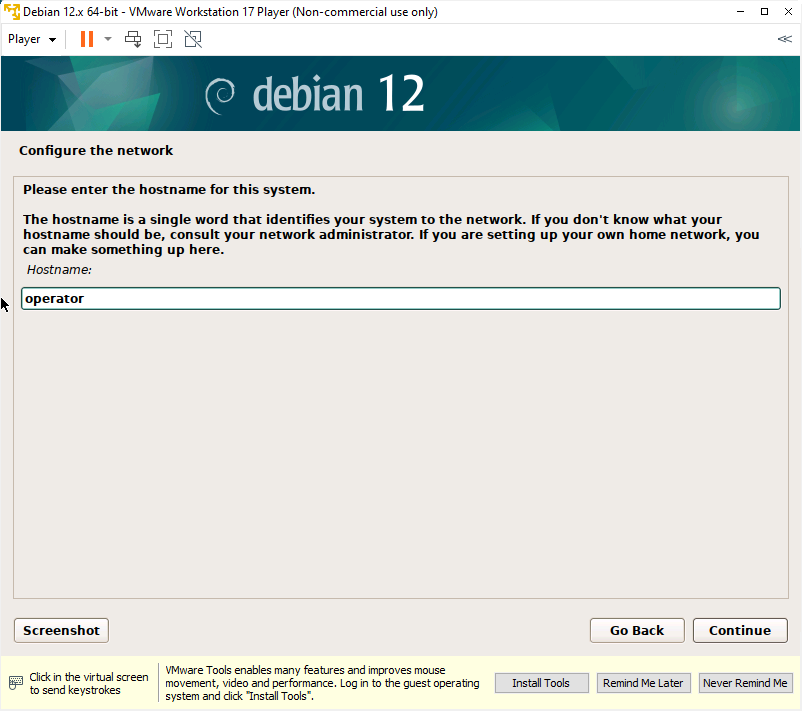
Note that in my case, I named it ‘operator,’ a simple name for this installation.
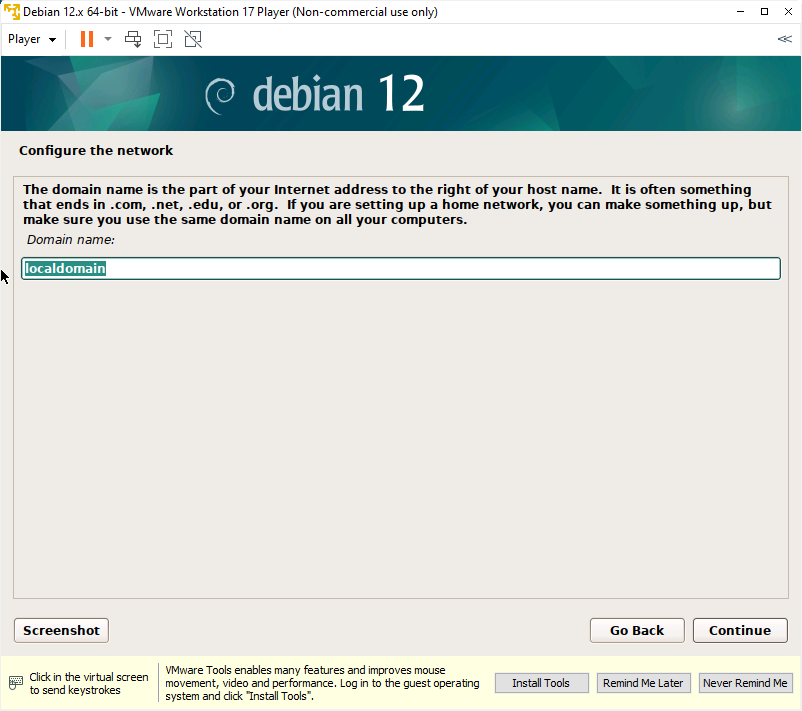
Next, it will ask for the domain, which is part of the local network. For example, on my computer, it will be something like operator.localdomain. All PCs with localdomain will be part of the network.
The image mentions the internet, as it can also be part of the internet network if desired.
User
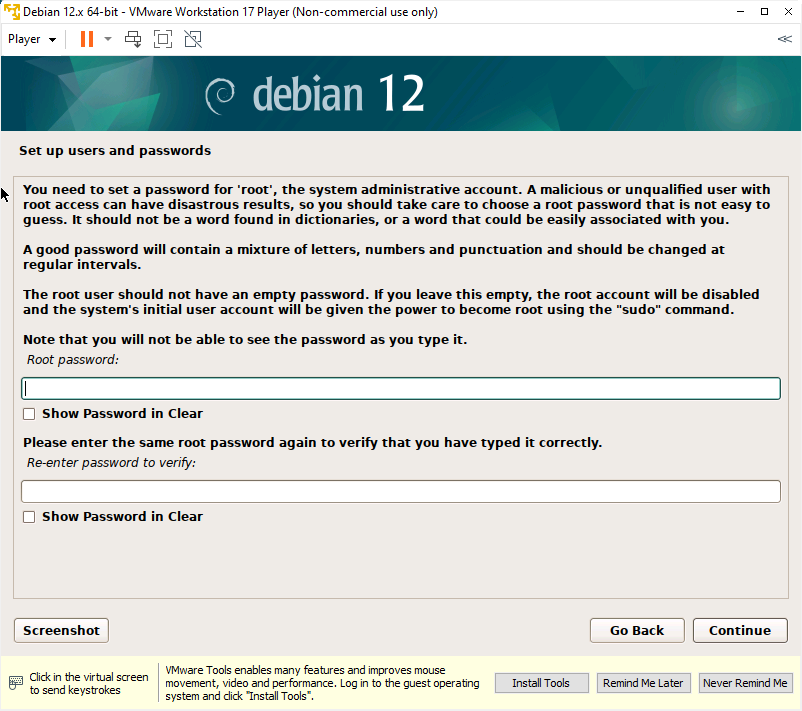
Here you need to specify the root password. Do not set a simple password for root if you plan to use the Debian installation as a server, as this can be very dangerous for your server
I strongly recommend that your password be at least 12 characters long, including both numbers and letters, and if possible, a symbol.
User and Password
In this section, it will ask for both our username and password, which we will use frequently. This user account is for non-administrative, everyday use. This user may or may not have the same privileges as root.
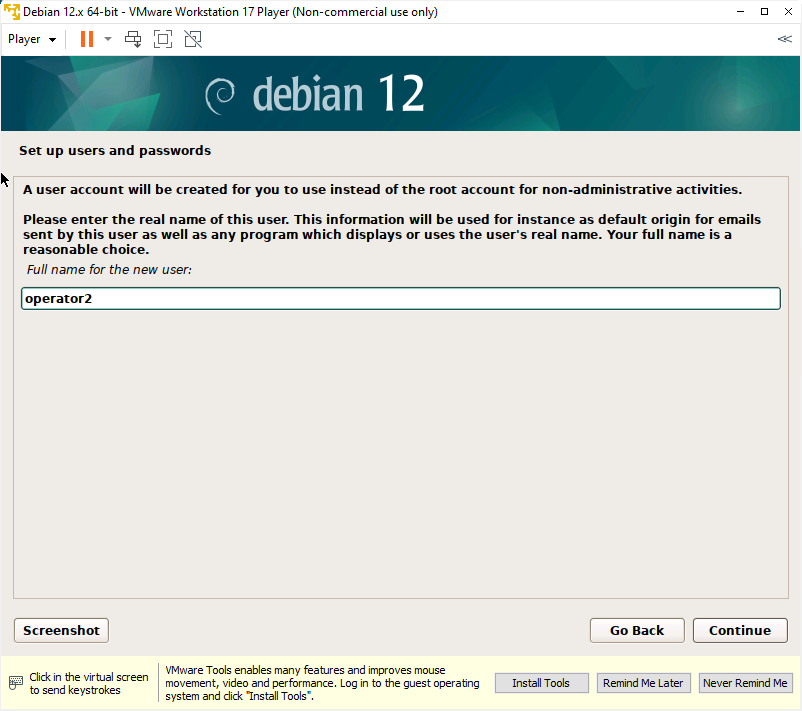
In the first box, it asks for the user’s name. This is not the username but the name of the person using the PC. It can be your name, your full name, etc
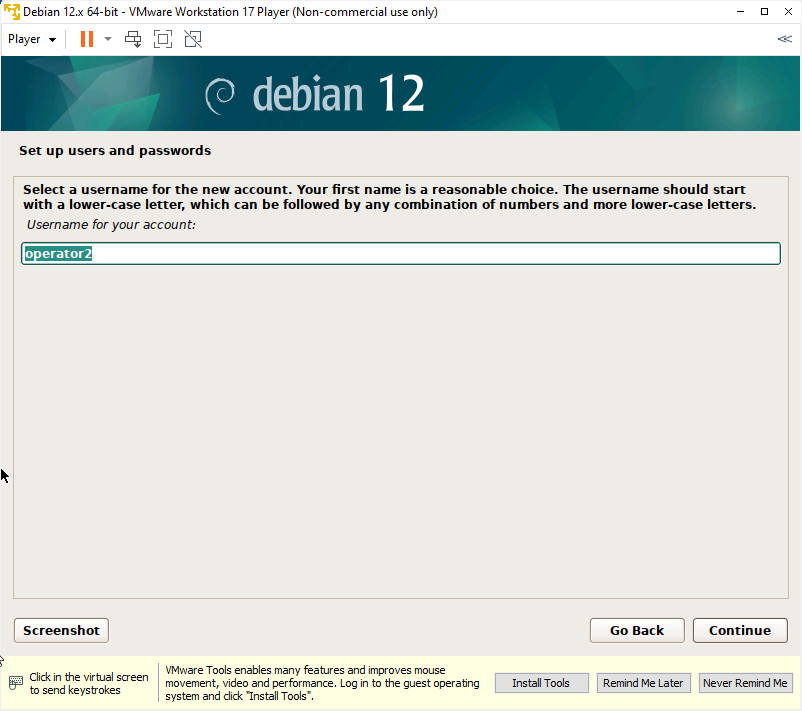
The second thing this section will ask for is the username. This is the username that will be used along with the password when you log in.
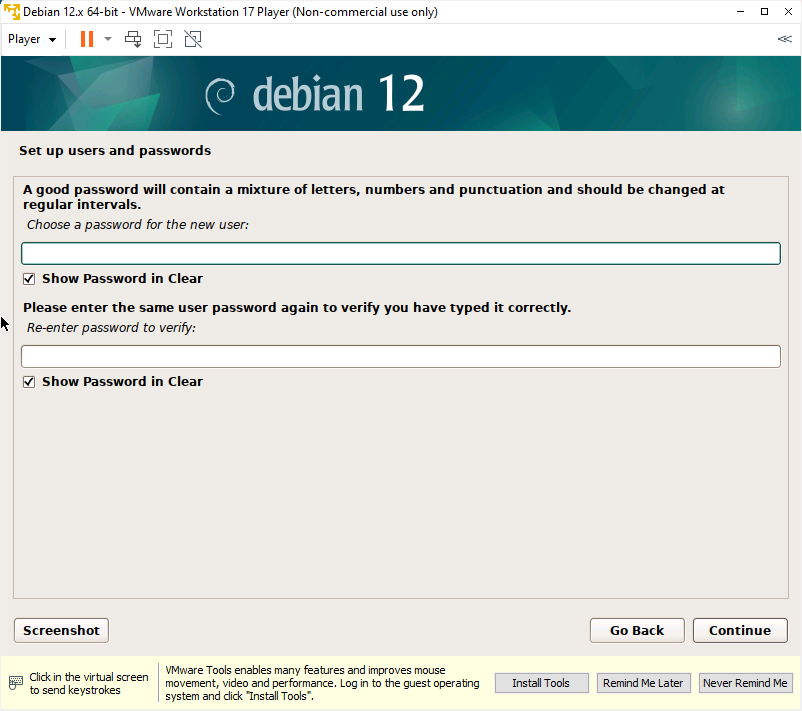
As the final step in this section, we need to enter the password and confirm the password we want to use with the previously entered username.
Clock
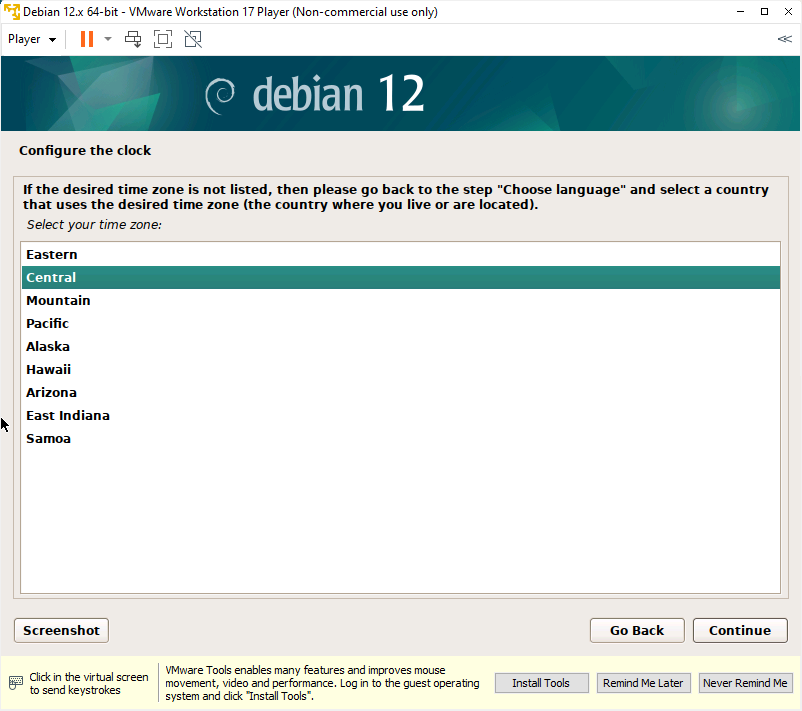
In the time zone configuration, the previously entered time zone is taken into account, providing different locations to determine the time for our installation.
Keep in mind that although your country may have only one time zone, there are others that have several, with Russia, France, the United States, and Australia being among the countries with the most time zones.
Disk partition
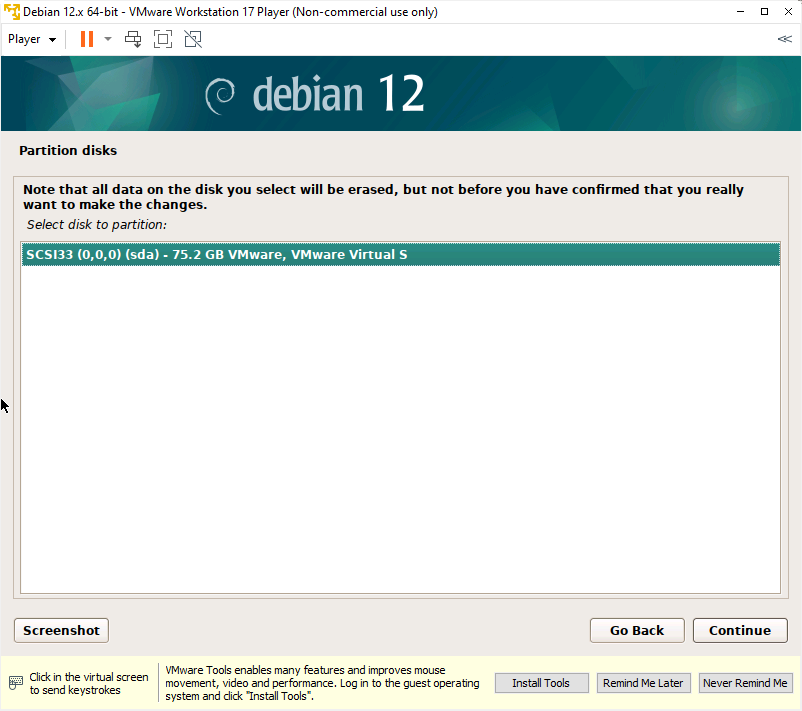
In this part of the installation, we will decide whether to use the entire disk or create more partitions. In my case, I used the entire disk, but if we wanted to use partitions, we should select the second or third option
LVM (Logical Volume Manager) is an essential tool in Linux operating systems that provides an abstraction layer over physical storage devices. In simpler terms, LVM allows you to manage your hard drives in a more flexible and efficient way
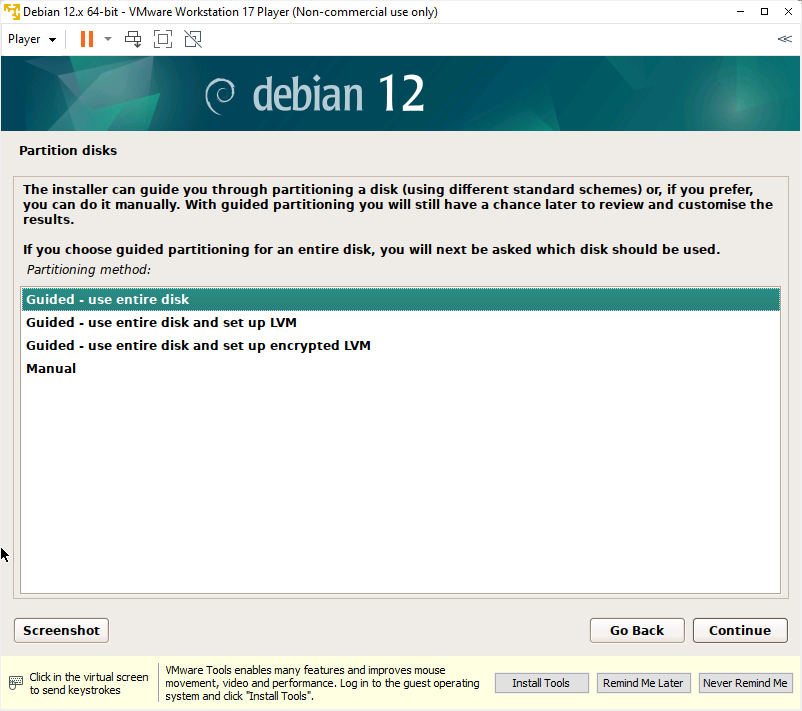
The next thing it will ask for is to format the partition where the operating system will be installed.
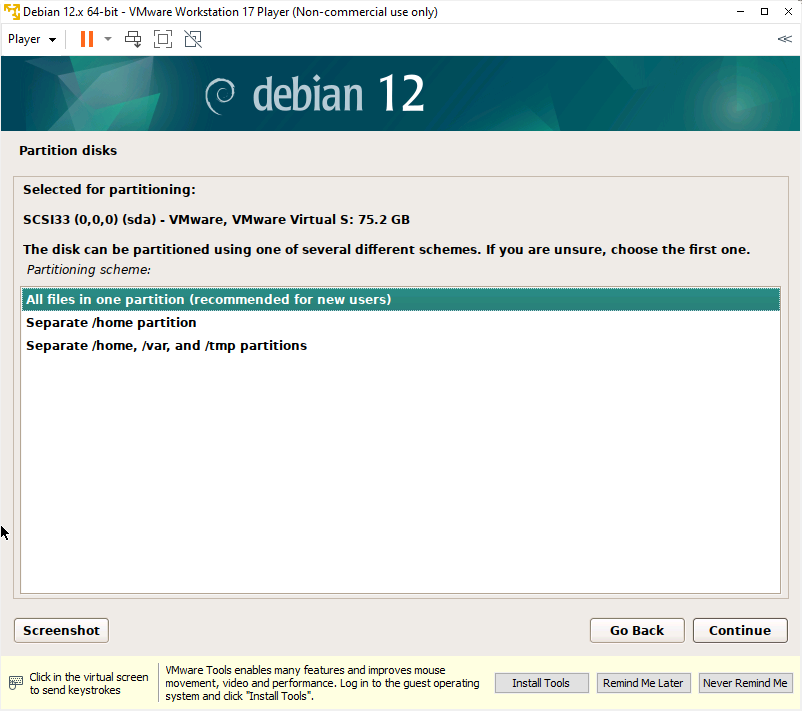
Will the installation be done on a single partition, or should partitions be created? In my case, I chose to do the installation on a single partition
This is the last part of the partition section, and we need to decide whether to accept the partitions or go back to change something. If you want to go back, you should select ‘undo changes’ and then click continue.
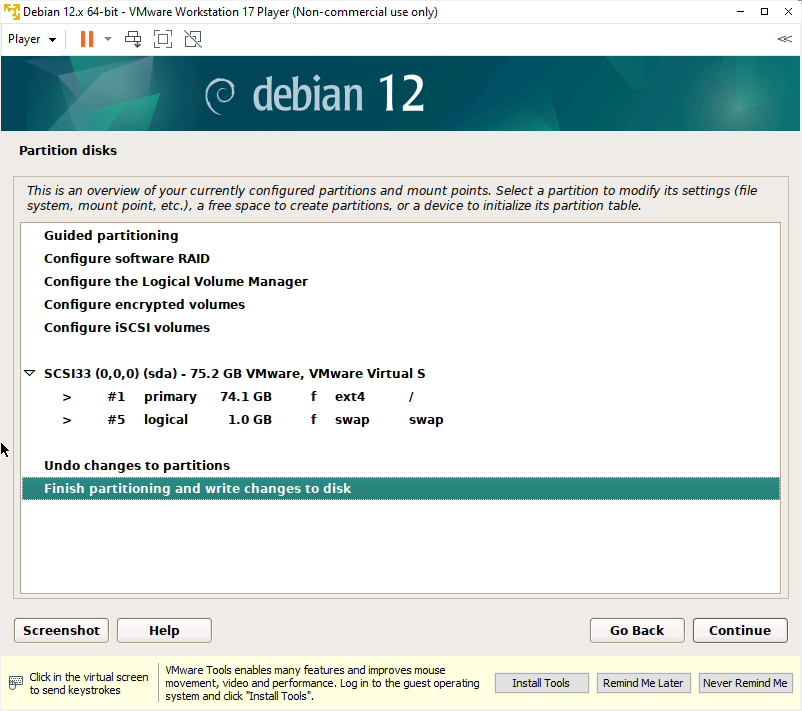
As we can see in the previous image, it has created the swap partition and the one that will hold our operating system
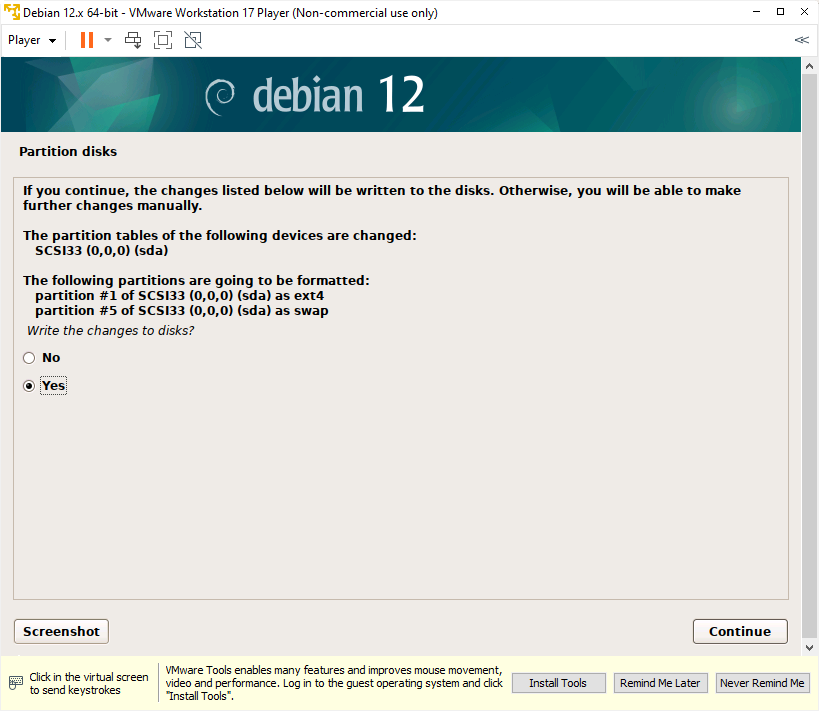
These partitions will need to be formatted to install the operating system base.
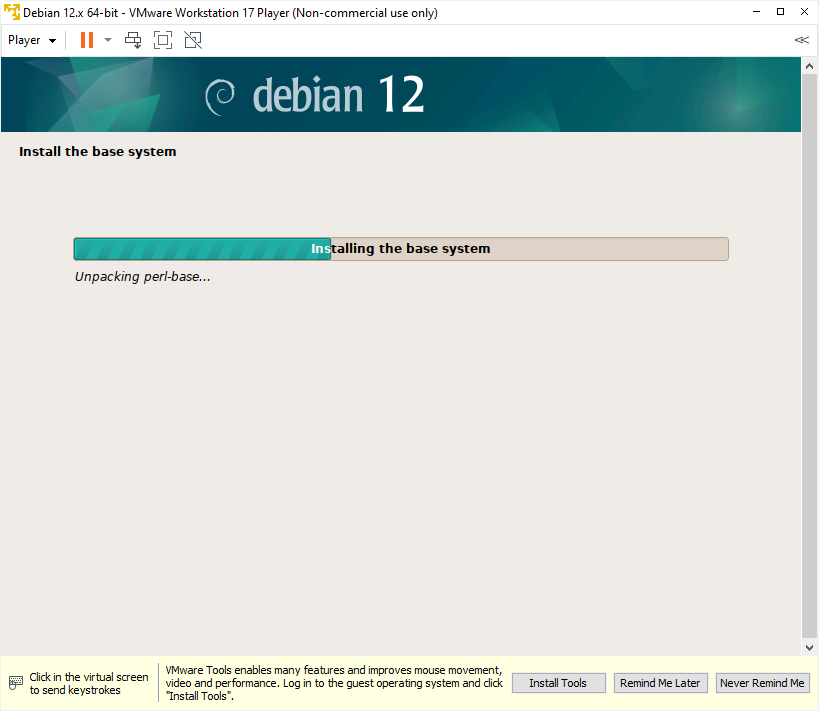
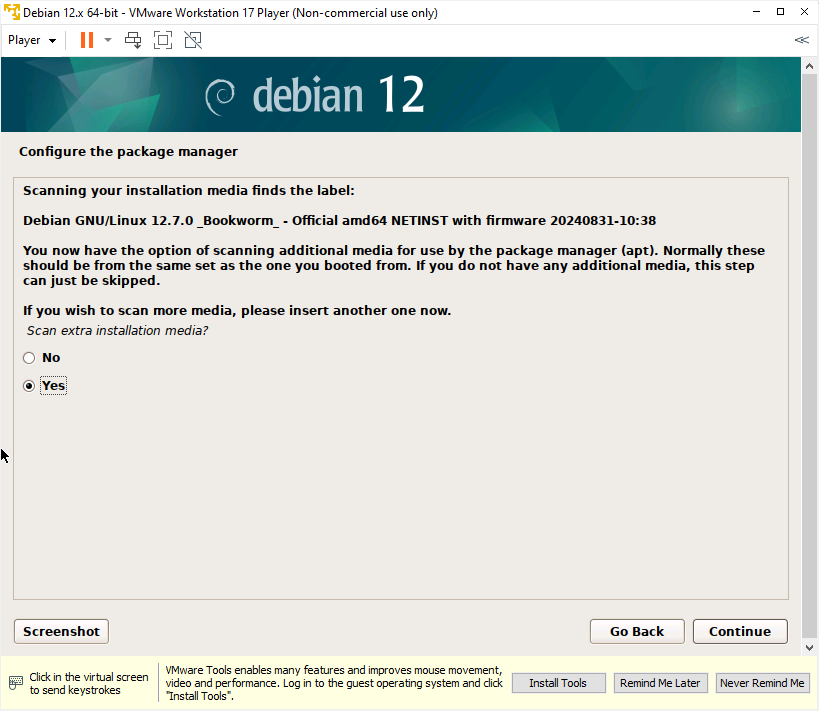
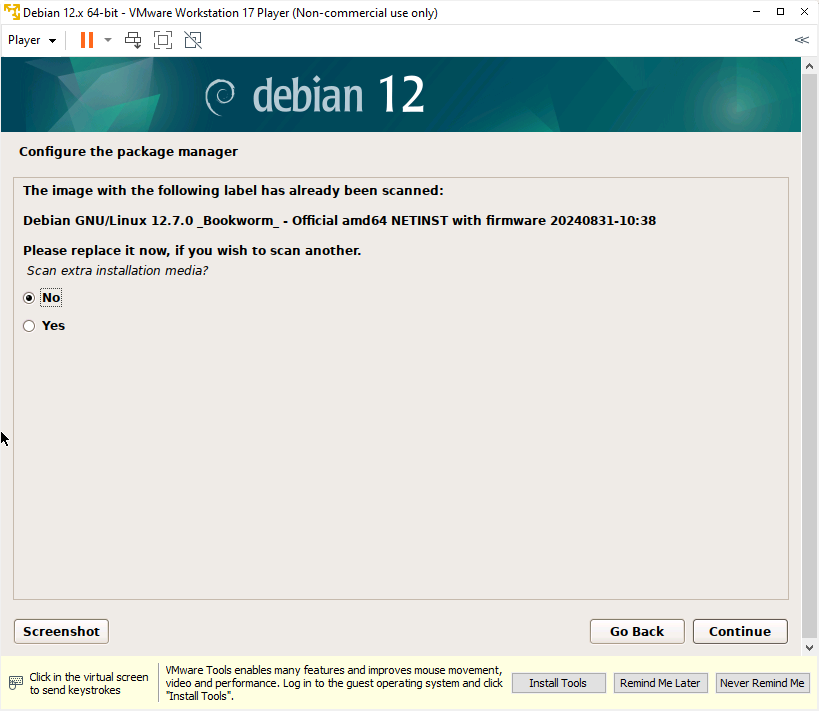
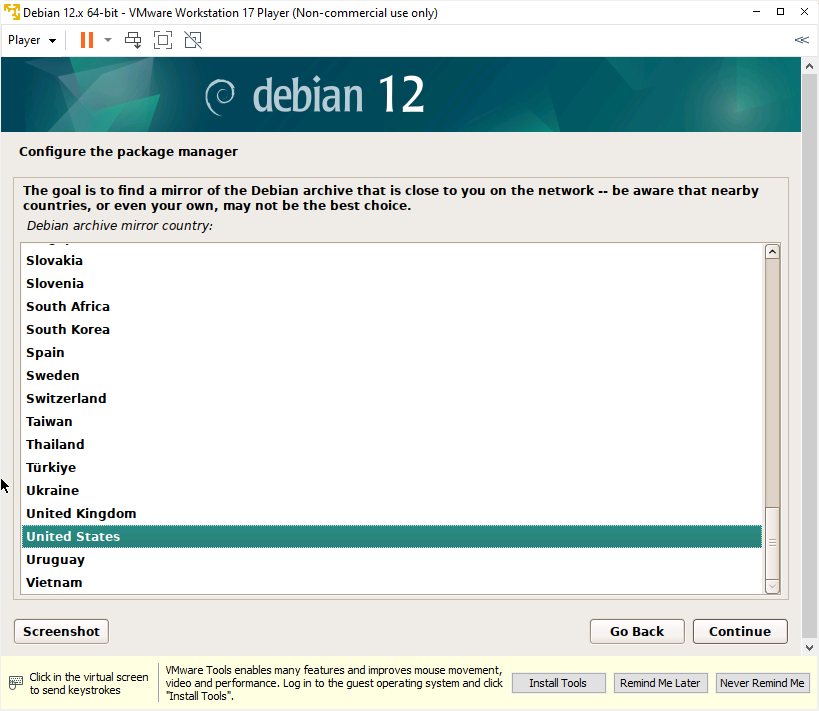
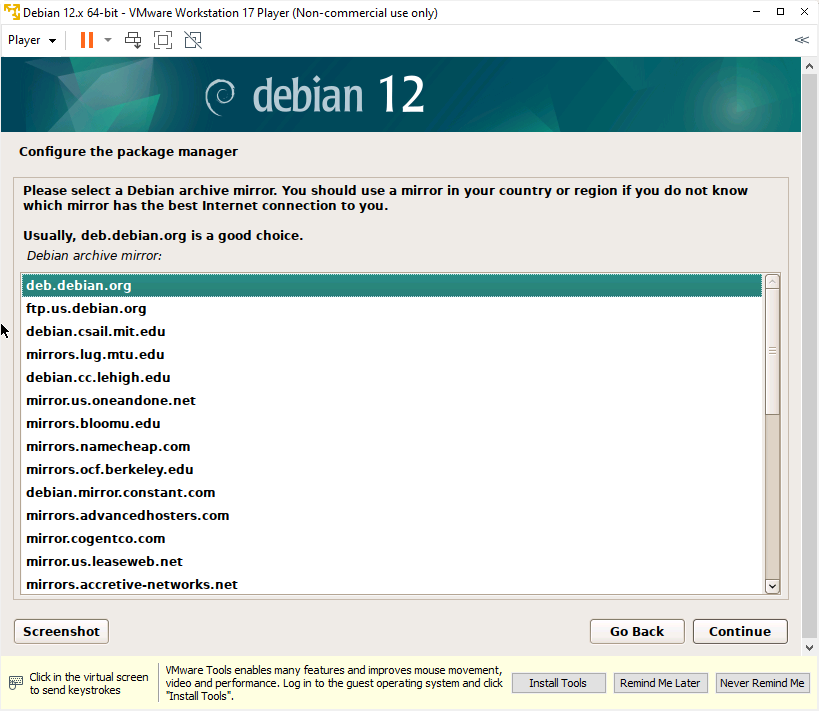
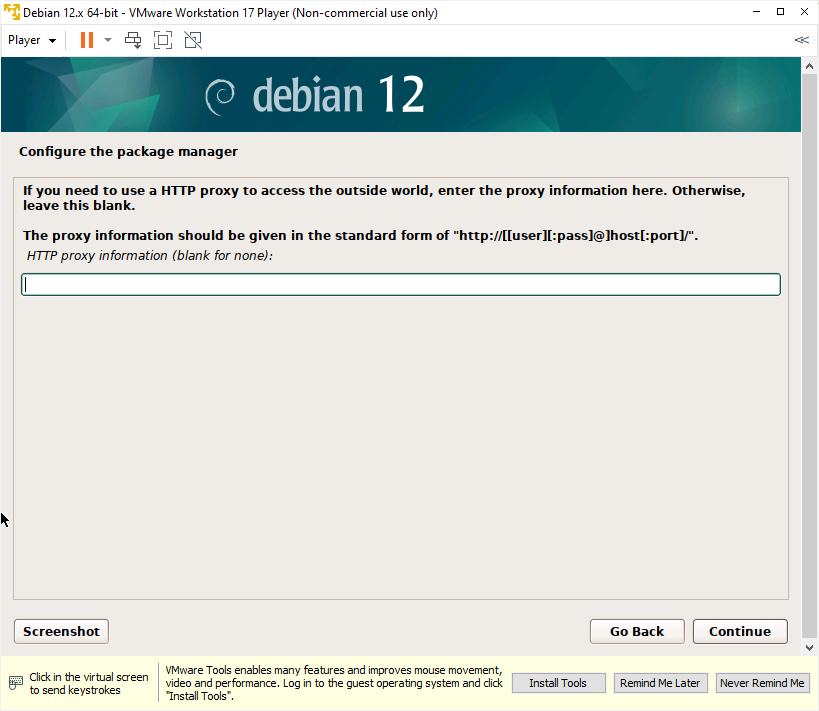
Package Manager
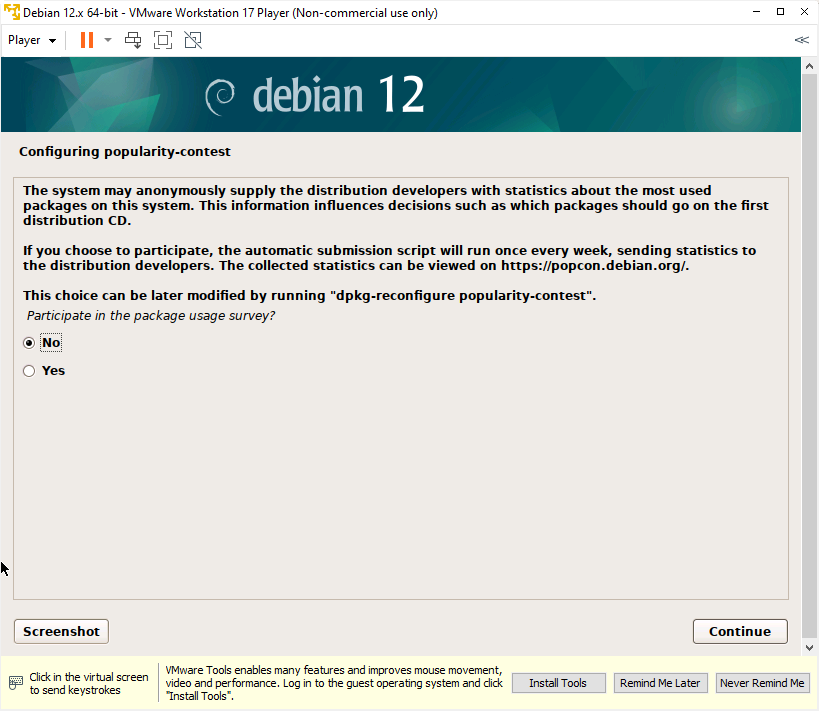
Anonymously Collaboration
Choose if you want to anonymously contribute weekly statistics of the most used packages on your PC to help improve the system.
Software selection
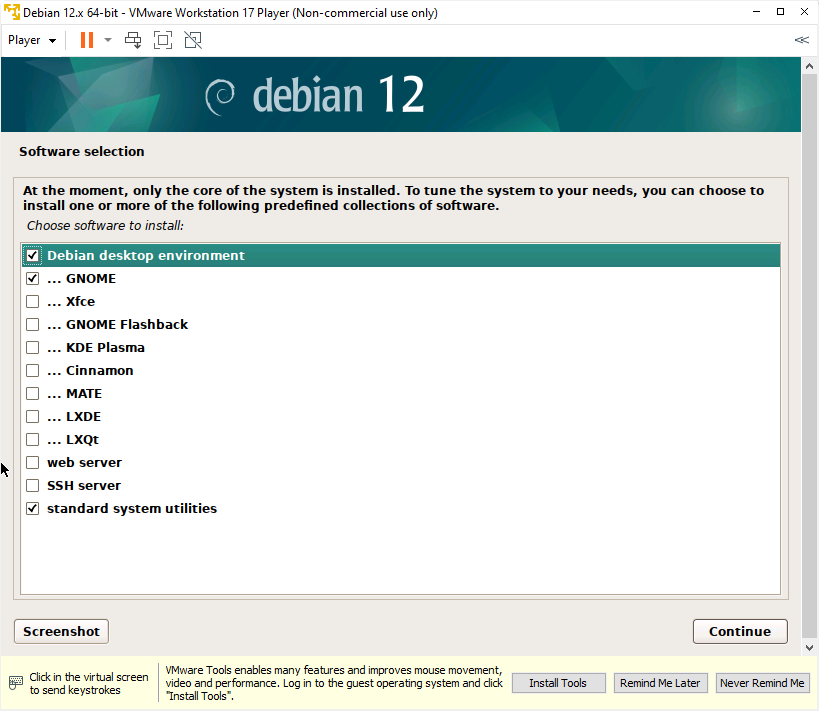
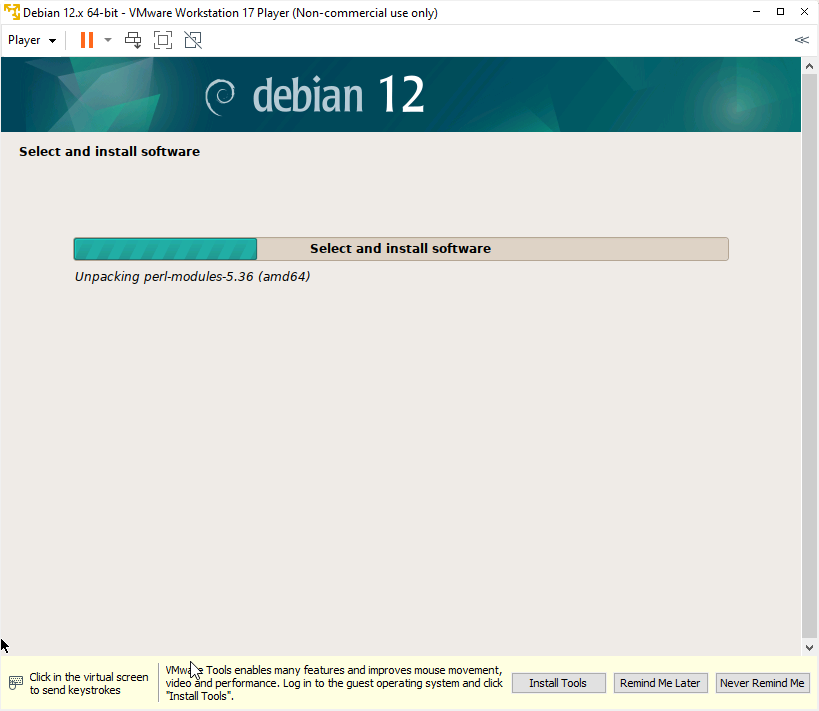
In the software selection, choose what you want to install. In my case, I chose GNOME.
GNOME is a very popular desktop environment for operating systems like Linux, designed to be simple, intuitive, and customizable. It is known for its elegant graphical user interface (GUI) and for being completely open-source.
From the list, the following desktop environments are graphical:
- GNOME
- xfce
- GNOME Flashback – recreates an older GNOME environment
- KDE Plasma
- Cinnamon
- MATE
- LXDE
- LXQt
In addition to these desktops, we can also add a Web Server and an SSH server if we want.
If you ask me about the Web server, I have no idea. I suppose it is a LAMP stack, as Debian tends to install APACHE in its installations
GRUB installation
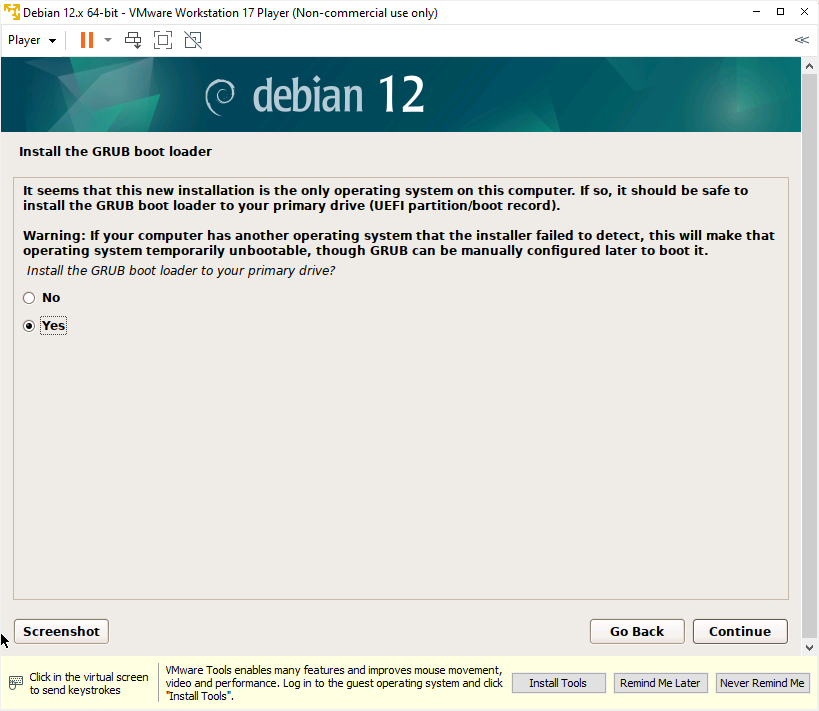
Finally, in this installation, we have the installation of GRUB, the bootloader. This is what allows the kernel to load, the option to choose between operating systems at startup, and other configurations
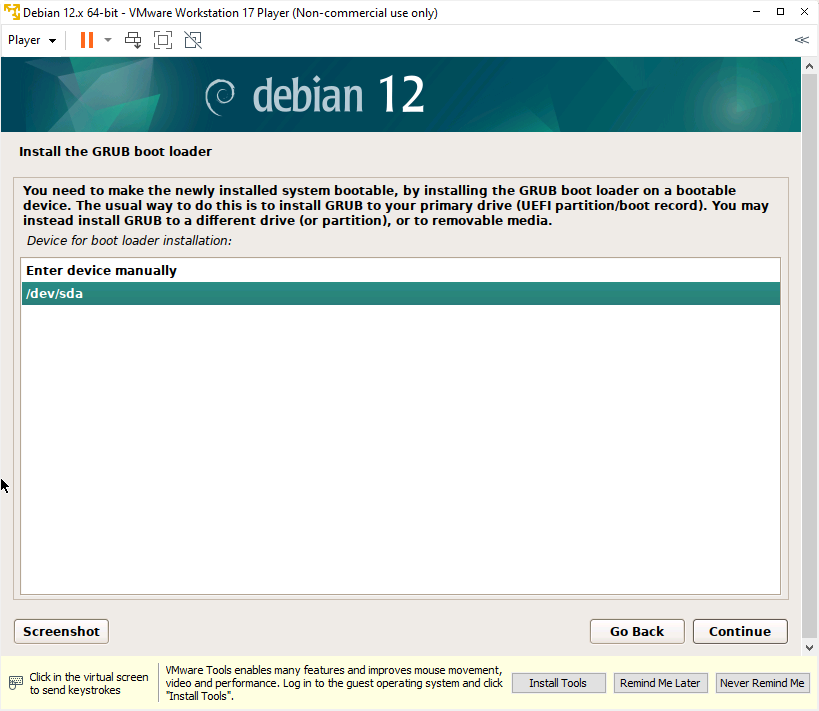
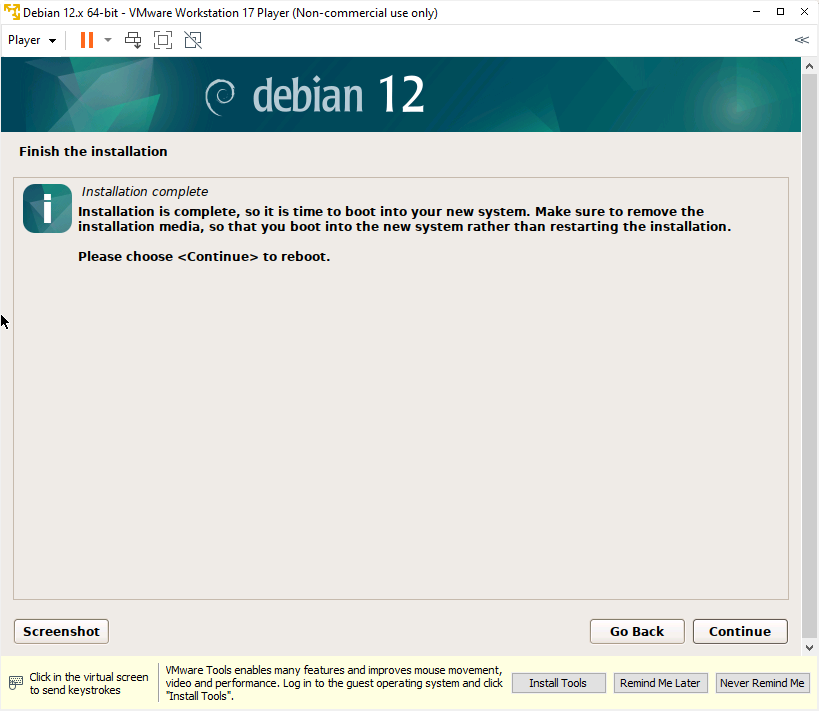
Once we click continue, our Debian installation will be complete



In case you need a bootable drive, you can use UNetbootin – https://unetbootin.github.io/, or you can use Rufus – https://rufus.ie/en/